_2.png)
 Request a Call
How to Choose a Well Water Filtration System: The 7-Step Path
Rust stains in the tub. A rotten-egg smell at the tap. Blue-green stains under the faucet. A coliform result on the lab report. Each one calls for different equipment, and a system bought for the wrong problem won’t fix the one you have.
There is no single best system for well water. There is the right system for your water chemistry, your pump and your house. Work through these seven steps in order and you’ll know what to buy before you spend anything.

- Test your water. A DIY kit and/or a certified lab.
- Inspect your system. Pump type, well log and a few five-minute checks.
- Check your flow rate. Gallons per minute, measured with a bucket and a watch.
- Pick the system type from your water chemistry.
- Size it to your flow rate and household.
- Install, start up and test.
- Set up maintenance and annual checks.
The short version to repeat to anyone: test first, measure the pump, then match each problem to its equipment.
The 7 mistakes behind most failed well systems
Each mistake is one step of the path, skipped.
| Mistake | What it leads to |
|---|---|
| Choosing a system before testing the water | Equipment for a problem you don’t have, while the real one stays |
| No physical inspection of the well system | Missing a pressure tank, pump or water heater issue the filter can’t fix |
| Not checking the flow rate of the well pump or booster pump | A backwashing filter the pump can’t backwash properly |
| The wrong type of system for the problem | Staining or odor that comes back after a few weeks |
| The wrong size of system | Pressure drop at the taps, or media that wears out early |
| A rushed installation and start-up | A system that never performs as rated from day one |
| No maintenance and testing schedule | A system that worked for a while, then quietly stopped |
If you already own a system that worked for a while and then stopped, start at step 1 anyway. Water chemistry changes, and the fix may be a different system rather than new media.
Step 1: Test your water
Every choice after this depends on the numbers, so this comes first.
- DIY tests for the treatment basics: alkalinity, chlorine, copper, hardness, hydrogen sulfide, iron, manganese, nitrate, nitrite, pH, sulfate and TDS (total dissolved solids). Easy well water test kits
- A certified lab for general minerals, physical properties and coliform bacteria. Lab tests for well water
- Extra lab tests for chemicals and heavy metals if you’re in an industrial or agricultural area, or near a gas station or petroleum drilling site.

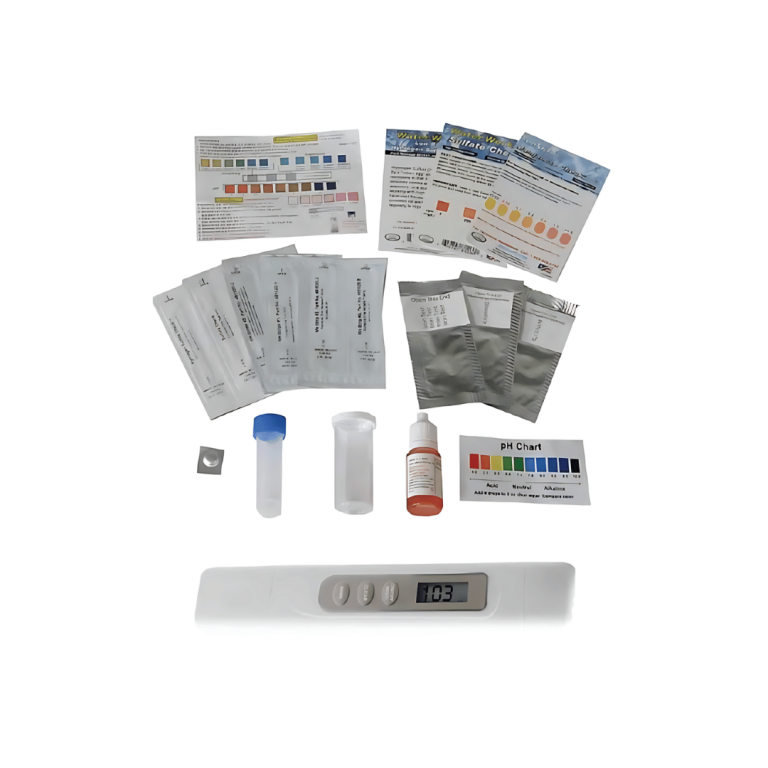
The limit: a DIY kit tells you what to treat. For anything health-related, such as bacteria, nitrate, arsenic or PFAS, use a certified lab. Bacteria test kits · All water tests
Step 2: Inspect your system
A filter can’t fix a problem that starts in the pump, the pressure tank or the water heater.
- Identify your pressure system. Submersible pump with a pressure tank (standard, fixed-rate), submersible with a variable-speed constant-pressure controller, above-ground jet pump, storage tank with booster pump, or storage tank with gravity flow. How well pump pressure systems work
- Get your well log if you can, so you know the well’s depth.
- Toilet tank check. Lift the lid and look for staining, sediment or slime.
- White bucket check. Fill a white bucket and look for color, cloudiness and sediment.
- Smell the cold and hot water separately. An odor only in the hot water usually points to the water heater, not the well.
- Water heater check. Look for sediment and staining when you drain a little from the bottom.
- Existing equipment check. Note what’s installed, its age and its settings.

Step 3: Check your flow rate
Flow rate is how many gallons per minute (GPM) the well pump delivers while it runs. It sets the size of everything you install, and a backwashing filter needs enough flow to clean itself. Plan on at least 7 GPM from the pump for a backwashing filter.
For a standard pump controlled by a pressure switch (it typically turns on at 30–50 psi and off at 50–70 psi):
- Make sure no one else is using water. Open a spigot until the pump kicks on.
- Close it and let the pump fill the pressure tank and shut off.
- Run the spigot into a 5-gallon bucket. Count the gallons you collect before the pump turns back on. This is the draw-down.
- When the pump turns on, close the spigot and time how many seconds the pump runs to refill the tank.
- Divide the gallons by the seconds, then multiply by 60.
Example: 5 gallons ÷ 25 seconds × 60 = 12 GPM.
With a constant-pressure (variable-speed) system this method doesn’t work. Get the flow rate from your well contractor or the pump’s model specs. Full flow-rate walkthrough

Step 4: Match each problem to its system
Find your problem in the left column. Most wells have more than one, so you may need two or three rows.
| Water problem | How it shows up | System options | Shop |
|---|---|---|---|
| Iron and manganese | Rust, brown or black stains | Iron and manganese filter (Pro-OX); chlorine or peroxide injection followed by filtration; softener optional | Iron & manganese filters |
| Acidic water (low pH) | Blue-green stains, corroded copper | Calcite neutralizer | Acid neutralizers |
| High sodium, chloride or TDS | Salty or mineral taste | Reverse osmosis, whole-house or under-sink | Reverse osmosis |
| Sediment | Grit, cloudiness, clogged aerators | Sediment backwash filter (Turbidex); or cartridges, 50/5 micron then 25/1 micron | Sediment backwash filters · Filters & strainers |
| Sulfur odor (hydrogen sulfide) | Rotten-egg smell | Sulfur AIR system with catalytic carbon and KDF, or ozone; hydrogen peroxide injection followed by catalytic carbon | Odor systems |
| Hard water | White scale on fixtures and in pipes | Water softener with salt tank; catalytic conditioner for scale inside pipes | Well water softeners |
| Tannin | Yellow or tea-colored water | Tannin filter with salt tank; nano-ceram filter; alum injection and filtration | Tannin filters |
| Bacteria and parasites | Positive coliform test | Multiple barriers: chlorine injection, nano or ultra-filtration, and a UV sterilizer | UV sterilizers · Chlorination systems |
| Heavy metals (lead, arsenic, mercury, uranium) | Lab test only | Titanium oxide media; chlorine followed by Pro-OX if iron is present; reverse osmosis | Arsenic filters |
| Chemicals (pesticides, MTBE, PFAS) | Lab test only | Carbon filtration; peroxide and ozone with catalytic carbon; reverse osmosis | PFAS systems · Carbon backwash filters |
| Nitrate | Lab test only | Nitrate filter with salt tank (anion exchange resin); reverse osmosis | Nitrate filters |
| Gases (hydrogen sulfide, methane, radon) | Odor, or a lab test | Aeration and venting; peroxide injection with catalytic carbon and KDF | Odor systems |
Example: iron and odor, the most common combination
When a well has both iron and a rotten-egg smell, the equipment goes in this order:
- Chlorine or hydrogen peroxide injection, into a contact tank. The tank gives the oxidizer time to work before anything filters it.
- Iron filter (Pro-OX). Catches the iron the oxidizer has turned into particles.
- Carbon filter. Removes the leftover chlorine or peroxide and the last of the odor.
- Softener (optional), if the water is also hard.
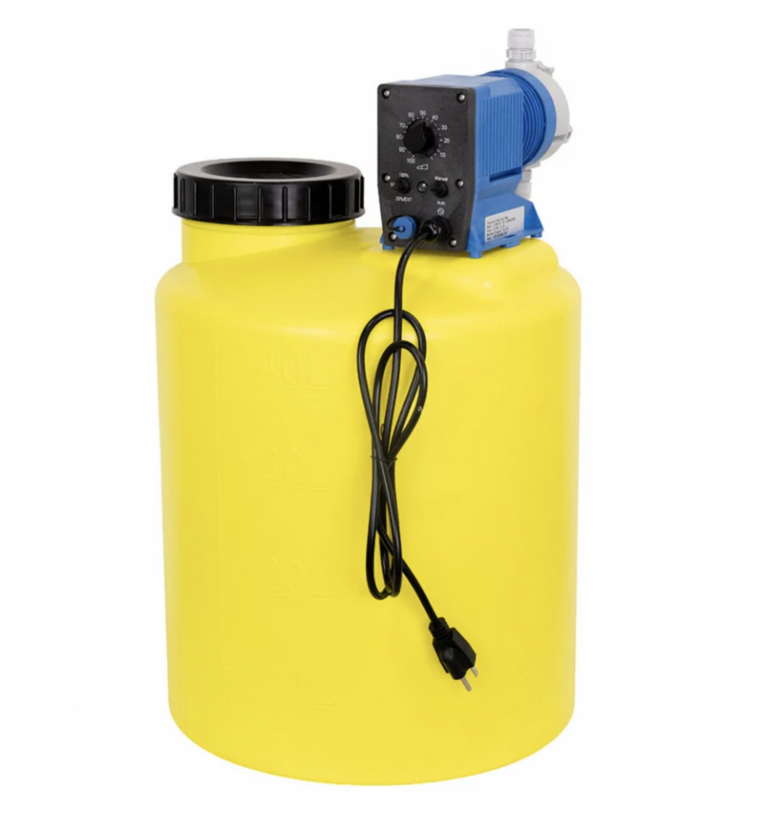

Click the diagram to enlarge.
See the full diagram and parts list
Add a calcite neutralizer only if the test shows acidic water. Every well is different, so let your test results decide which stages you need. Complete well water treatment systems
Step 5: Size it to your flow rate and household
The right type in the wrong size still fails. Size from these five numbers:
- Number of bathrooms
- Number of people
- Your pump’s maximum flow rate (step 3)
- Pipe size
- Irrigation needs, if treated water feeds the yard
Step 6: Install, start up and test
Many owners have a plumber or handyman do the plumbing, then do the start-up and testing themselves.
- Follow the manual step by step. Owner’s manuals and installation guides
- Allow time after installation for start-up before you judge the results.
- Have a test kit on hand to check the treated water.
- Install a sample tap for untreated water before any treatment, and one for treated water before it enters the house. Without both, you can’t tell what each stage is doing.

Whole house water filter installation checklist
Step 7: Set up maintenance and annual checks
- Keep a log. A clipboard by the equipment: when it was serviced, how much salt or chlorine went in, when cartridges were changed.
- Test on a schedule. DIY tests for the treatment basics, plus lab tests for whatever your well and location call for.
- Book an annual well checkup. It should include a flow test, a visual inspection, a water quality test for coliform and anaerobic bacteria, nitrates and anything else of local concern, a valve check and electrical testing, with a written report. Keep it with your other well records.
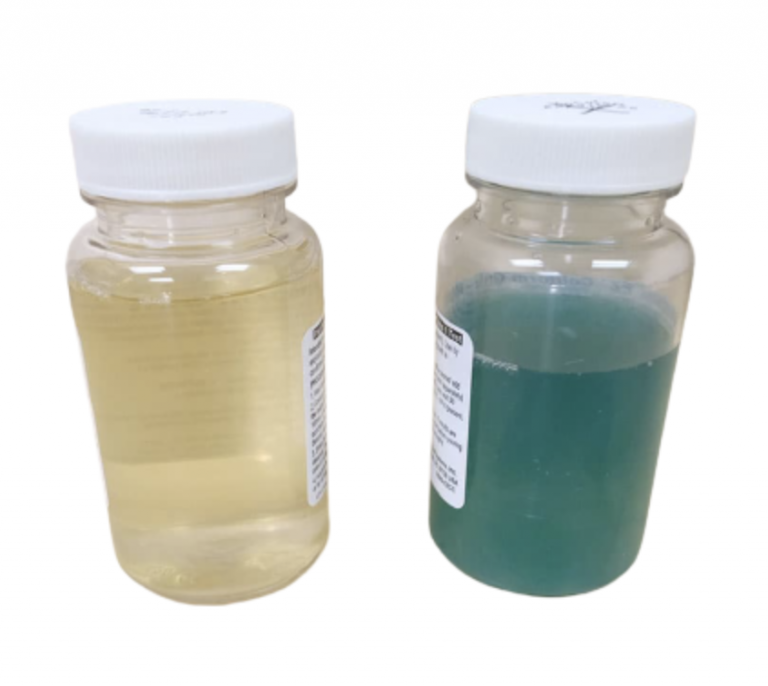
It also helps to know a well contractor before you need one. For more on caring for a private well, see the National Ground Water Association’s wellowner.org.
What it costs
Most well water treatment runs $1,000 to $6,000 in equipment. The low end is a single system for one problem, such as an iron filter or a softener. The high end is a complete multi-stage system, such as the iron-and-odor setup in step 4.
The full breakdown, with real prices: What does a complete well water treatment system actually cost?
Frequently asked questions
How do I know which well water treatment system is right for my home?
Test the water first, then match each problem to its system using the table in step 4. Size it from your flow rate and household in step 5.
Why did my old system stop working?
Usually one of three things: the water chemistry changed, the system was the wrong type or size for the water, or maintenance slipped. Retest before you replace anything.
Why does flow rate matter?
It sets the size of everything you install. A backwashing filter that’s too big for the pump can’t clean itself properly.
Does water pressure affect which system I choose?
Yes. Every system adds some pressure drop, and an undersized system adds more. Check your pressure gauge and switch settings during the step 2 inspection.
What if I don’t understand how my well system works?
Start with step 2. Identifying your pump and pressure system takes a few minutes at the well head, and your well log fills in the rest. How well pump pressure systems work
Next step
Not sure which problem you have? Take the quiz: What type of water treatment do I need? Or send your test results to support@cleanwaterstore.com, or call 888-600-5426 (Mon–Fri, 8 AM–4 PM Pacific).
Related guides
- How Much Does It Cost to Put in a Well Water System?
- Common Mistakes When Installing a Whole House Water Filtration System
- DIY vs. Contractor: How to Install a Whole House Water Filter Without a Costly Mistake
Resources
EPA: Drinking Water Treatment Technologies, point-of-use vs. point-of-entry systems and considerations for removing multiple contaminants.
University of Missouri Extension: Understanding Your Home Water Treatment Systems
Montana State University Extension: Well Educated, Water Treatment


