How To Identify Well Water Problems By a Physical Inspection
Podcast: Play in new window | Download
Subscribe: RSS
On today’s episode of Clean Water, I walk you through how to identify well water problems by doing a physical inspection of your pipes, fixtures, and appliances. There are some well water problems that you can identify yourself without any special tools or equipment.
Though it is a fairly easy process, there are some aspects of water inspection that people may not automatically know about. Hopefully, the information in today’s episode, Clean Water Made Easy Podcast Episode 4, helps you maintain clean and healthy well water.
Well Water Problems Topics Discussed:
- Secrets of your toilet flush tanks
- Visual inspection of your water and pipes
- Signs that you have problems with your well water system
- Checking your water heater
- Remembering to check your dishwasher
Transcript of Well Water Problems Episode:
You’re listening to Clean Water Made Easy Podcast episode number 4.
Hello thanks again for tuning in to the Clean Water Made Easy Podcast. Hope your day is going good. My name is Gerry Bulfin. I’m a water treatment contractor and WQA-certified Master Water Specialist here in Northern California. And in this podcast series I give actionable tips and information all about well water treatment and well water problems.
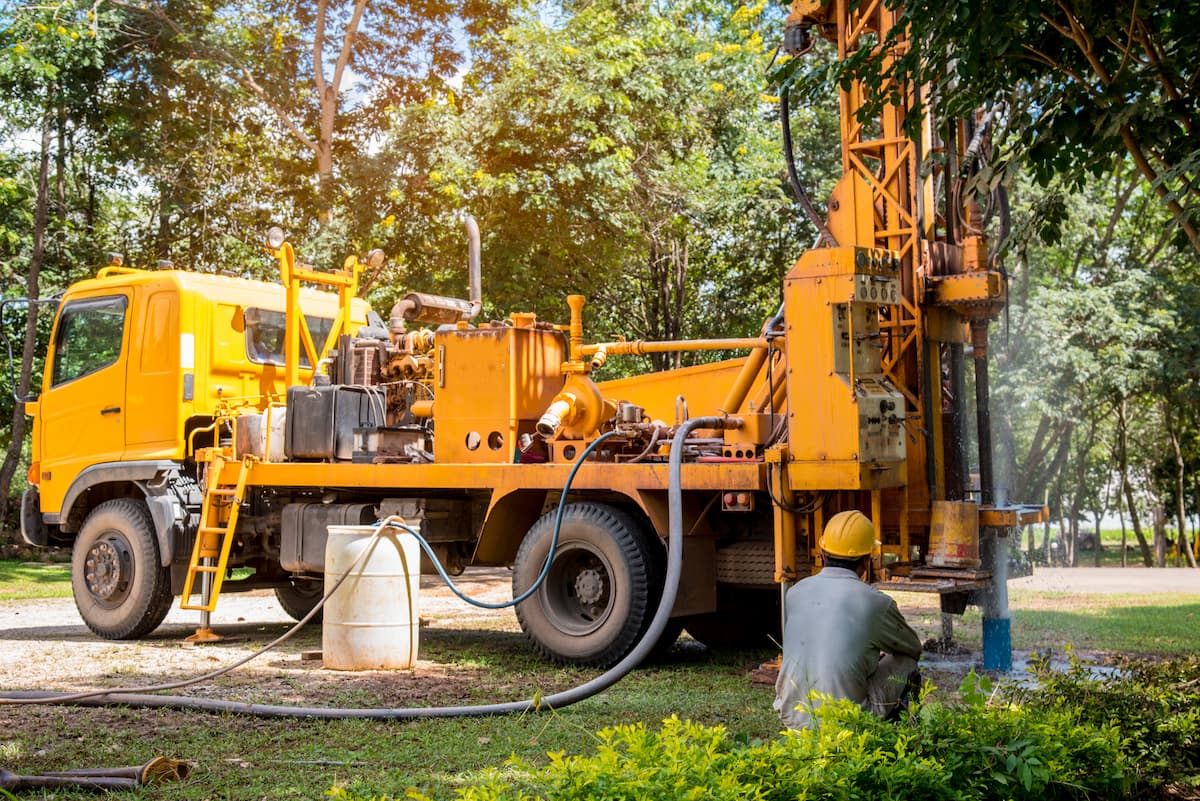
In today’s podcast we’ll cover how to do a physical inspection of your home well water system. This is a great way to identify and find out clues about what’s going on with your well water quality. There’s some very simple things you can do. It is very enlightening. We’ll talk about how to do a physical inspection of your pipes and fixtures, how to do a toilet tank check, very interesting, and all about your water heater, how to inspect your water heater, and what to look for in your dishwasher.
I made a resource guide to go along with this. I’m trying to make a resource guide for every podcast, I think it might be more interesting so when people come and listen to it they have something they can physically look at and also gives you a guide that you can keep. This one I’m offering for free, all you have to do is text the word “watercheck” all one word, watercheck, to 44222. And also go to the clean water store website, cleanwaterstore.com/podcast and this is episode 4 so just look for episode 4 and you’ll find the resource guide in there, all about how to do a physical inspection of your system.
Physical Inspection: How-To
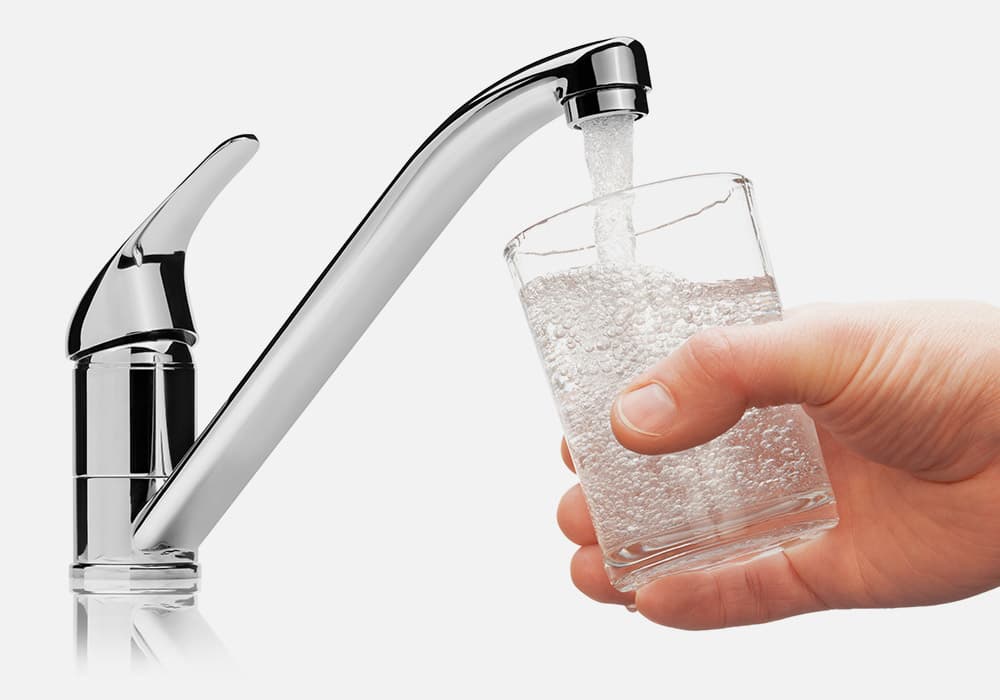
To do a physical inspection of your pipe and fixtures could be as simple as getting a 5 gallon bucket and opening up a hose bib outside and physically seeing what the water looks like. If you have well water and you’re trying to figure out what’s going on, that’s the first place I’d start. Get a white, clean 5 gallon bucket and fill it with water. It should be crystal clear.
If it’s clear but if you know you have iron staining and it turns to rust later that tells you something right there. It's coming out of the ground clear, but it's turning to rust as it gets exposed to the air. You can also check odors this way–fill up a nice clean bucket and see if there’s, should have no odor to it obviously.
If you have to inspect your pipes because you’re getting pipe corrosion, then you can take apart a section of the pipe and we’ve certainly done that and doing assays of trying to determine where corrosion is happening in plumbing. You have to cut out a section of the pipe and of course you have to reinstall section so that could be tricky involved plumbing, but you can also just do a physical inspection of the outside of the pipes.
Your pipes shouldn’t have green corrosion byproducts on the outside, there obviously should be no leaks, that kind of thing. That’s the important thing to do, look around and just see what does it look like, how do the valves look? Are they old? Are they corroded looking? The next place to look and we have a little chart and a guide that goes over this, is the top 10 water problems that you can find in your toilet flush tank.
Believe it or not your flush tank, the box behind the toilet that you can lift up the lid, that will tell you a tremendous amount about what’s going on in your water. If you look in and it’s clean and white, unless this is a new toilet, this indicates your water probably doesn’t have iron, rust, or sediment in it. If it’s clean and white and there’s no sediment at the bottom unless it’s brand new, then this is a good sign. That’s how it should be. There shouldn’t be any sediment or discoloration. You might have hard water which is calcium carbonate minerals. But generally a clean, white flush tank is good and that’s want you want to see.
Now you might look in and see it clean with deposits at the bottom of the tank, maybe there’s sand or grit or sediment. This means there’s some kind of sediment in your water that’s either coming from the pipes or it’s in the well water. Remember that this is your hold water, so it’s kind of cool because your toilet flush tank is almost like a mini settling tank for your water.
But you can also have some old galvanized pipes, iron pipe, and it could be flaking off. But generally you shouldn’t see a deposit of sediment at the bottom of there.
Now, what’s really common if you look in there and see rust or dark colored water, irony-looking rusty water, then you know you’ve got an iron problem. Of course you’d probably know that anyway but it’s still good to look in the toilet tank because it can show what you’re dealing with. If it’s just very lightly stained with a little bit of rust at the bottom but it’s pretty clean looking water then you just have a slight problem.
If you have frothy-looking water with slime growing out from the sides like hairy looking deposits growing out from the sides of the toilet tank, then that’s a sign you have iron bacteria. That’s a very good way to get a clue whether your water has iron and iron bacteria. If you have black water then that means either your water is high in manganese or it’s ferric sulfite or what they call black rust. A lot of times you see the black flush tanks and there’s a rotten egg odor that goes along with it too.
So the other things you might see are brown stains, that could be iron and/or manganese. Blue stains are not good. If the toilet tank is white but it has blue stains on it, then that means you have copper corrosion. You have copper pipes and your pipes are corroding and that’s what you’re seeing.
There’s a total list of 10 different breakdowns but we covered the majority of them. Basically you have white, clean, and then you have white and clean with rust at the bottom, you’ve got blue stains, you got rust stains, furry stringy red growths are iron bacteria, furry stringy gray or black growths that’s sulfur bacteria, frothy looking with bubbles goes along with iron bacteria, brown stains can be iron and manganese, black stains can be manganese or ferric sulfide, and the last one which is kind of a very strange one is pink.
If have pink stains in your toilet tank, or if you have pink stains in your toilet itself, then that is not from the water, that’s from airborne bacteria. It’s not a health threat but it’s annoying. But you can clean that with bleach, you could put a couple bleach pellets into the toilet tank or you can spray some Clorox in there. But essentially the pink stains is not water-related although if you had a chlorine residual in your water you wouldn’t see it but that’s not really a water quality issue. Pink is from the air. It’s in the water from the air.
Okay, the next step is to look at the water heater. We talked about this a little bit but the water heater is a great place, it’s also another settling tank similar to your flush tank. What you can do there is drain the water heater into a 5 gallon bucket and just take a look physically. It’s funny because a lot of the water heater manuals they’ll tell you, “oh be sure to drain, to flush your water heater once a month.” Well, there probably isn’t a water heater in ten thousand that have been flushed in a year, let alone a month. But it is a good idea to do that.
Not sure about every month, but after a while, it’s a good idea to flush your water heater because it does clean out the bottom especially if you have a gas water heater. You have flames at the bottom heating from the bottom up. And if you get a layer of sediment or mineral over that then it has to work a lot harder. So sometimes you can get that out of there by flushing it out. But for our purposes here, what we’re trying to do is see what does the water look like coming out of the water heater.
If you open up that bottom hose bib on there you don’t have to shut the water off, just open it up and flush it into a 5 gallon bucket using a garden hose. Just take a look at what it looks like. Are you seeing grit, sand, sediment, what color is it? – all that would tell you a lot of what’s happening with the water.
Now one sort of warning is that basically you’re hooking up a garden hose to the bottom hose bib or bottom faucet on the water heater, right? The thing is, is that you want to be sure you have a hose bib cap. You can get that for a dollar at the hardware store but what’s going to happen is once you close that hose bib when you’re done, it might leak.
A lot of times people aren't using it that often, so it can get grit in there. So it’s no big deal to screw a little cap on there. You don't need special tools, just screw it on there. And then if it does leak, you’re set.
The next is, look in the dishwasher. Of course we all look in the dishwasher everyday, but when you look in there, what do you see? Is it clean and white? Or do you see tea-colored stains? Or light brown stains which is very common, that’s from manganese. Or is there white deposits covering it? Or do you get a lot of grit or sediment at the bottom? These are all clues of what’s happening with your water.
Another thing to do is the kitchen faucet aerator. Check that. That’s very quick to do. Usually it doesn’t require any tools. But you unscrew the aerator at the end of the faucet and look inside there. It’s amazing. If you look in there and you see sand, grit, hardness build up, if it’s partially blocked by scale, then you know that’s your water.
That’s cold and hot water coming through your kitchen faucet. And you can actually put that into a container of a vinegar or put it in to like say a cup of white vinegar and dissolve it and clean it and reinstall it so it’ll help the flow of your faucet.
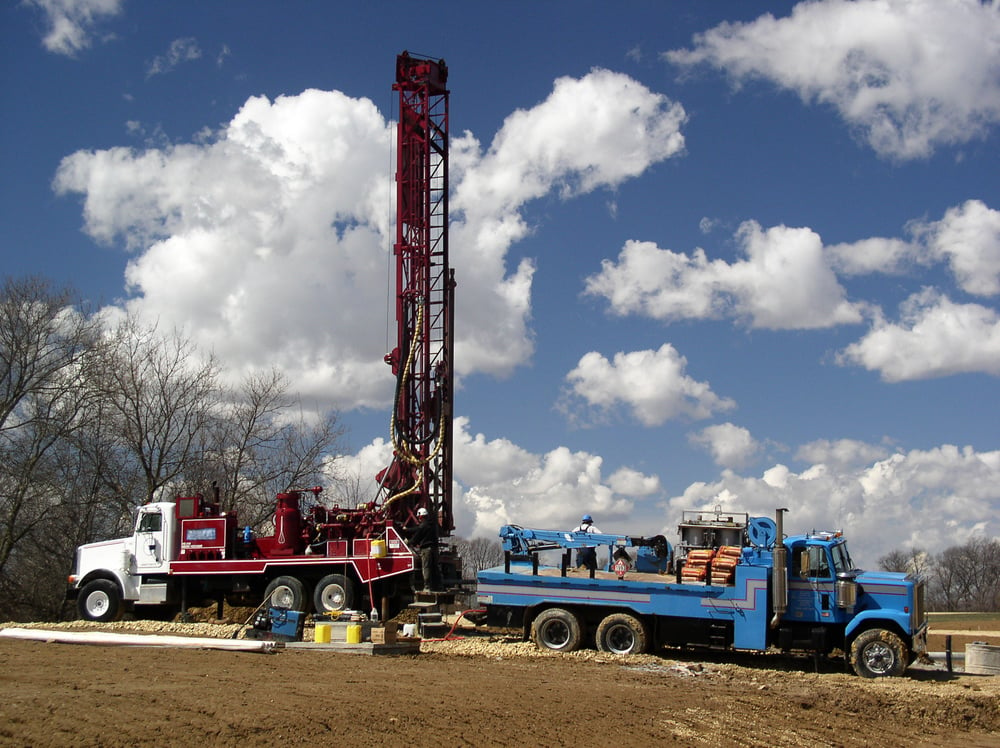
The next thing to do is just look at your water system. Look at your pressure tank. Look at your pressure switch. Physically look at the top of the well head. Are there any cracks in the well? Is it sealed, is it tight? In other words you don’t want to see any lose fittings, lose wires, cracks, or anything where critters can get in there. Ideally you want to remove you pressure switch cover and look inside.
Of course warning, that’s high voltage, you can get electrocuted so be careful. It can be 110 or 220 volt, most likely 220 volt. So you could shut the power off to it first before you do it. But basically you just unscrew that little knob on there and pull the cap off and look inside. It should look clean. It shouldn’t be charred or burned looking. It shouldn’t be full of insects or ants, which can happen if your well is outside or in a shed where it gets most insects. You just look at it.
You may not be able to replace it yourself, you might have to get help from a professional to replace it but at least you know “hey this is a time bomb”, “this thing looks charred, it looks burnt looking, it looks worn out and old.” Then the pressure switch is very easy to spot. It’s just a small black box attached to your pipe right near the pressure tank. It has a little gray cover that you just pull right off and look inside there. But you don’t want to do it if the voltage is turned on obviously.
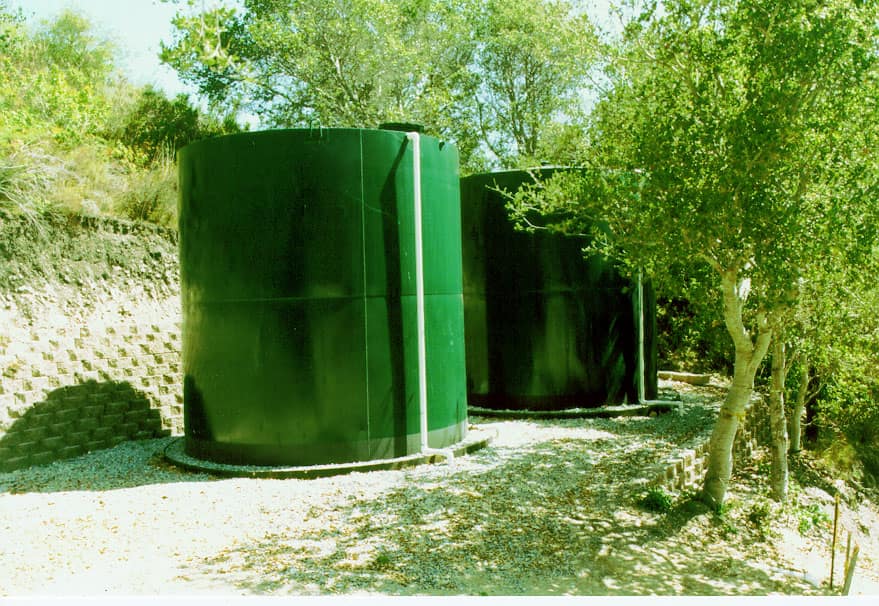
The other thing you check is your pressure tank. What kind of shape is it in? Is it leaking? It should never be leaking obviously. And the other thing is that if your pressure switch cuts in, say at 40 psi and off at 60 psi, which is common. Or it could be on at 30 and off at 50. Whatever the cut in is, what you want to do is shut the power off to your well, drain the water out of your pressure tank, just open up a hose bib until there’s no pressure in the pipe, and then get a bicycle pressure gauge or tire pressure gauge and check the air pressure on the tank.
These pressure tanks have a captive air bladder or a diaphragm inside that holds the air. And the pressure of that when it’s not under pressure by the water should be 2 psi less than the cut in. So if your well pump turns on a 40, then when the pressure tank has water pressure turned off to it, it should be 38. If you’re in a really hot desert or something where the pressure tank is out and in the sun baking, then maybe you want to put 5 psi less than the cut in, but for most folks, 2 psi less than the cut in works great.
A lot of times the pressure tanks can lose their air overtime so it doesn’t hurt to check it. Of course if you go to check the pressure on the little valve on your pressure tank and water comes out then the pressure tank is ruined and you need to replace it. Generally you can’t service those diaphragms or bladders very easily, most you can't service at all. But anyway, you either have to replace the bladder or at that point it’s pretty old probably and you just replace the tank.
Alright hope that’s been helpful to you. That gives you a good idea of what to check for in a physical and again if you want the guide that has a list of all these different checklist and the toilet tank, pictures of toilet tanks and to check, just go to, text to 44222 the word “watercheck”. You can also go out site cleanwaterstore.com/podcast and look for episode 4 and you’ll download it there.
Hey, in next week’s episode we’re going to talk about, all about iron and manganese treatment. Most of our customers do have this problem, not all, but good percentage do and so this should be very interesting for most folks. Iron and manganese are very common and this kind of goes over a basic all about everything you want to know about iron and manganese treatment.
So hope you’re having a good day and we’ll talk to you soon.
If you find the information here helpful, please share it with your friends.
[bctt tweet=”“A physical inspection of your pipe and fixtures can be as simple as getting a five gallon bucket and opening a hose bib outside”” username=”@gerrybulfin”]