_2.png)
 Request a Call
The Ultimate Guide to Testing Your Water: City Water and Well Water
Not sure what’s actually in your water? You’re not alone. Most homeowners either skip testing entirely or grab a cheap test strip from the hardware store and call it good. The problem is that the contaminants that matter most — lead, bacteria, arsenic, PFAS — are invisible, odorless, and tasteless. You can’t see them, smell them, or taste them. That’s exactly why testing matters.

This guide walks you through the entire process: where to start, what to test for, which tools are worth using, and how to make sense of your results — whether you’re on city water or a private well.
Why Water Testing Matters More Than Most People Realize
City water customers often assume that because their water is treated at a municipal plant, it arrives at the tap clean and safe. But municipal treatment doesn’t account for what happens between the plant and your faucet. Older pipes, aging infrastructure, and household plumbing can introduce lead, copper, and other contaminants after the water leaves the treatment facility.
Well water customers have a different challenge entirely. Unlike city water, private wells are not regularly monitored or tested by anyone — that responsibility falls entirely on the homeowner. Most contaminants in well water are completely undetectable without a lab test.
Whether you’re on city water or a well, testing is the only way to know what you’re actually drinking.
👉 Related: Home Water Tests You Can Do Yourself for Free
Step 1 — Know Your Water Source
Your water source determines everything about what to test for, what risks are most likely, and what treatment options make sense. The two paths are very different.
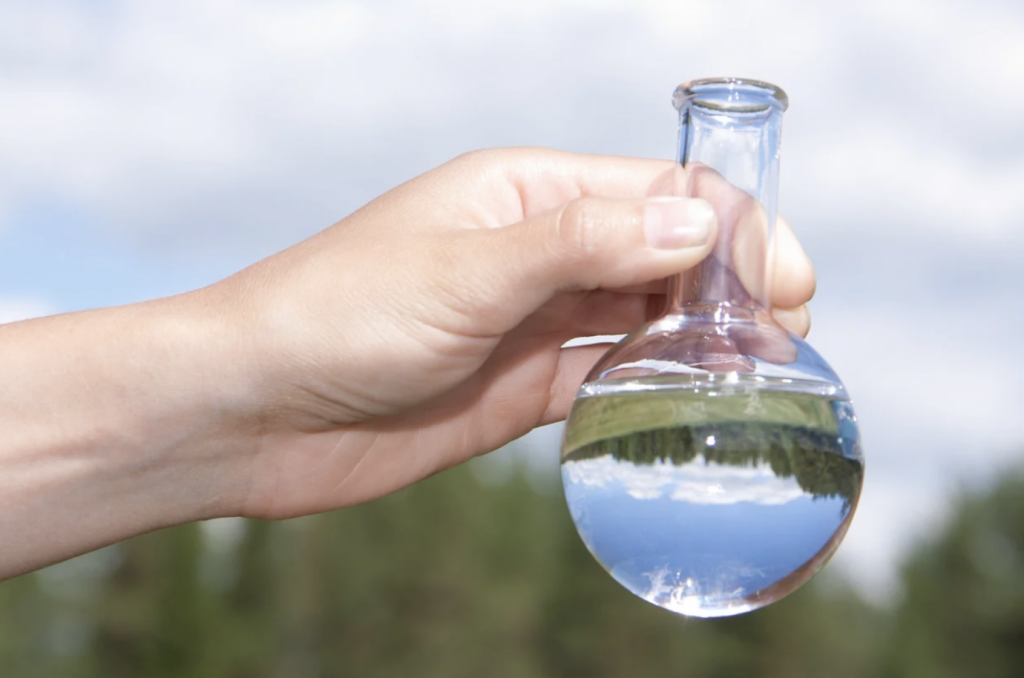
City water is treated and monitored by your municipality. The main concerns at the tap are chlorine and chloramine disinfection byproducts, lead from older pipes and fixtures, and in some areas, PFAS contamination. Your city is required by law to publish an annual water quality report.
Private well water is untreated and unmonitored. The risks depend heavily on your local geology, land use, and well construction. Bacteria, iron, manganese, hardness, and nitrates are the most common issues — but the list can extend to pesticides, heavy metals, and VOCs depending on where you live.
Step 2 — Start Free or Low Cost: Two Resources Every Homeowner Should Use
Before spending anything on testing, take advantage of these two resources.
The Consumer Confidence Report (City Water Only)
Every municipal water utility in the United States is required to publish an annual water quality report called a Consumer Confidence Report, or CCR. This document shows what contaminants were detected in your water supply and at what levels. It’s a useful baseline — but it only tells you what left the treatment plant, not what’s coming out of your specific tap.
You can request your CCR or search for it at EPA.gov’s CCR search tool. It’s free, takes about two minutes to find, and gives you a solid starting point before you invest in any testing.
Clean Water Store’s Low Cost General Mineral Analysis
A General Mineral Analysis is a real lab test — not a strip kit — that measures the most common minerals and metals in your water: iron, manganese, hardness, TDS, pH, calcium, magnesium, sodium, potassium, and more. For well water customers especially, this test identifies the root cause of the majority of common water problems including staining, scale, taste issues, and corrosion.
Clean Water Store offers two options depending on how much convenience you want:
-
- $10 — Pay only for the lab analysis. You supply your own clean sample bottles and handle shipping. Same professional analysis, just no kit or prepaid label included.
- $40 — We mail you sample bottles and a prepaid return label. Collect your sample, seal it, and drop it in the mail.
Either way you receive a detailed lab report emailed to you with expert recommendations for next steps. Note that this is a professional analysis for informational purposes — it is not a state-certified lab test.
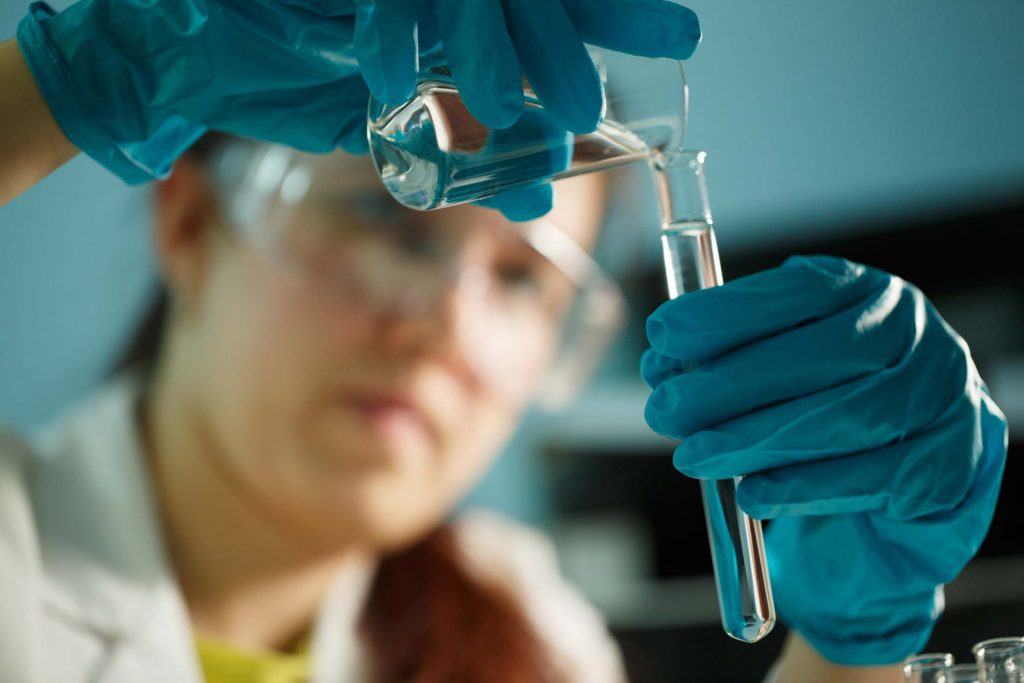
If you need a certified result for real estate, legal, or regulatory purposes, we recommend a SimpleLab Essential Well Water Test which is fully certified with a 5-day turnaround.
At $10 for the analysis alone, this is one of the most affordable professional mineral panels available anywhere — most independent labs charge $50–$150 for equivalent testing.
👉 Order your General Mineral Analysis here.
Step 3 — The City Water Path
Once you have your CCR in hand and your free General Mineral Analysis results back, here’s how to interpret what you have and what to do next.
What the Free Mineral Test Covers for City Water
The General Mineral Analysis gives you a clear picture of hardness, TDS, and the key minerals affecting your water’s taste, scale potential, and how it interacts with your appliances and plumbing.

What to Add for a Complete City Water Picture
The mineral test alone doesn’t cover the contaminants city water customers are most commonly concerned about from a health standpoint. For a full picture, a SimpleLab city water panel adds:
- Chlorine and chloramines — disinfectants used in municipal treatment that affect taste and can form harmful byproducts
- Lead — enters water at the tap through older pipes and brass fixtures, not at the treatment plant
- Disinfection byproducts (THMs and HAAs) — formed when chlorine reacts with organic matter in the water

The CCR gives you the municipal baseline. The mineral analysis fills in what the CCR misses at the tap level. The SimpleLab panel fills in the health-based gaps that neither of the above addresses.
👉 Related: City Water Testing Kit — What to Know Before You Buy
Step 4 — The Well Water Path
Well water testing requires a slightly different approach because the risks are broader and the starting point is always a mineral analysis plus bacteria.
What the Free Mineral Test Covers for Well Water
The General Mineral Analysis covers iron, manganese, hardness, TDS, pH, ORP, and tannins — the minerals and metals responsible for the most common well water complaints: brown staining, white scale, rotten egg odor, and poor taste.
Why You Must Also Test for Bacteria
This is the most important thing well water owners need to understand:
Bacteria contamination is one of the most common and most serious well water problems — and it leaves no visible signs.
Unlike city water, your well is not treated or monitored by anyone. Coliform bacteria and E. coli can be present in a well even when the water looks, smells, and tastes completely normal. The EPA and most state health departments recommend testing for bacteria at least once a year — not just when you suspect a problem.

The bacteria test is separate from the mineral analysis and should always be paired with it. Together they give you the complete picture for well water safety.
👉 Related: DIY Well Water Test Kits for Coliform Bacteria
👉 Related: Why Testing Your Well Water Is Essential
Step 5 — Home Test Kits vs. Lab Tests: When to Use Each
Not every situation calls for a full lab panel. Here’s a simple way to think about it:
Home test kits and test strips are useful for quick snapshots — checking chlorine levels after a filter change, verifying hardness before programming a softener, or doing a fast initial screen. They’re low cost and give immediate results. The tradeoff is accuracy: strips give you ranges, not precise numbers, and they can’t detect the contaminants that matter most for health decisions.

Certified lab tests give you precise, quantitative results across a wide range of contaminants. They’re the right choice when you’re making a treatment system decision, buying a new home, testing for health-based contaminants like lead or arsenic, or establishing a baseline for your well.

The CDC’s water quality guidance recommends certified lab testing any time you have a specific health concern or are evaluating a home filtration system.
👉 Related: Home Depot Water Testing Kits: An Honest Review
Step 6 — When to Go Deeper with a Full Lab Panel
For some situations, the standard mineral analysis plus bacteria isn’t enough. If any of the following apply to you, consider upgrading to a comprehensive SimpleLab panel:
-
- Near farmland, orchards, or livestock operations → test for nitrates, pesticides, and herbicides. Nitrates are especially dangerous for infants and pregnancy.
- Near a highway, gas station, dry cleaner, or industrial site → test for heavy metals and VOCs. Leaking underground storage tanks are a common source of groundwater contamination.
- Near a military base or industrial park → add PFAS/GenX testing. These “forever chemicals” are now found in groundwater across the country and require specialized testing and filtration.
- Buying a new home → do the full panel before you move in. This is not the time to guess.
- After a flood or natural disaster → retest your well. Floodwater can introduce bacteria and surface contaminants directly into a well casing.
The EPA’s private well resources cover the most common contamination scenarios by region and land use — useful for understanding which tests are most relevant for your specific location.
👉 Related: Well Water Testing: Choosing the Right Test Kit
👉 Related: A Common Mistake: Failure to Properly Test Well Water Chemistry
The Simple Decision Table
Use this as your quick reference before ordering any test:
| Your Situation | Start With | Add This |
|---|---|---|
| City water — taste or scale issues | General Mineral Analysis + CCR | SimpleLab city panel |
| Well water — staining or odor | General Mineral Analysis | Bacteria + SimpleLab well panel |
| Near farm, highway, or industry | General Mineral Analysis | SimpleLab + heavy metals/VOCs |
| New home, either source | General Mineral Analysis + Bacteria | Full lab panel |
| PFAS concern (near industrial or military) | General Mineral Analysis | SimpleLab PFAS/GenX add-on |
Step 7 — How to Read Your Results
Once your results come back, the numbers only mean something in context. Here’s what to focus on:
For mineral analysis results: Look at hardness (anything above 7 grains per gallon is considered hard and typically warrants a softener), iron levels (above 0.3 ppm causes staining), pH (below 7.0 indicates corrosive water that can leach lead and copper from pipes), and TDS (a general indicator of dissolved minerals).
For bacteria results: Any detection of E. coli requires immediate action — disinfect the well and retest before using the water for drinking or cooking. Total coliform alone may indicate surface contamination entering the well casing.
For lead results: The EPA action level is 15 ppb. At or above that level, the source is almost always the plumbing or fixtures in the home, not the water supply itself.
For a detailed breakdown of every parameter in your report, see our full guide: How to Read Your Water Test Report
Ready to Start? Claim Your General Mineral Analysis
The best first step is a real lab test — not a guess. Clean Water Store is currently offering a low cost General Mineral Analysis. It covers the most common minerals, metals, and water quality indicators for both city and well water, and it gives you actual numbers you can act on.

Choose how you want to do it:
-
- We mail you a sample bottle with a prepaid return label — just fill it and send it back
- Already have a container? Send us your sample and we’ll handle the rest
Claim Your General Mineral Water Analysis →
Clean Water Store has been helping homeowners understand and treat their water since 1986. Our founder Gerry Bulfin is a licensed water treatment contractor and WQA Certified Water Specialist based in Santa Cruz, California.
Government and Educational Resources Referenced in This Article

Article last updated May 19th, 2026.


