_2.png)
 Request a Call
Whole House Water Filter Installation Checklist: What to Do Before, During, and After?
You have tested your water. You have chosen your system. Now you are ready to install.
This is where a lot of homeowners run into trouble — not because the job is too hard, but because they skip steps. They forget to flush the system. They miss the air gap requirement. They do not check the pressure after startup. Small oversights that create big headaches later.
This checklist walks you through every stage of a whole house water filter installation from start to finish. Bookmark it, print it, and work through it step by step. It covers both well water and city water setups.
Watch Gerry Bulfin walk through the installation process here:
👉 Not sure what system you need first? Take our free Water Quiz
Before You Install: What Do You Need to Do First?
The work you do before you pick up a wrench determines how smooth the installation goes. Do not skip this stage.
Have You Tested Your Water Recently?
This is the most important step and the most commonly skipped one. A water test tells you exactly what your system needs to remove. Without it, you may install the wrong system entirely — or install a good system in the wrong order.
Well water customers should test for iron, manganese, hardness, pH, bacteria, and TDS at minimum. City water customers should test for chlorine, chloramines, sediment, and hardness.
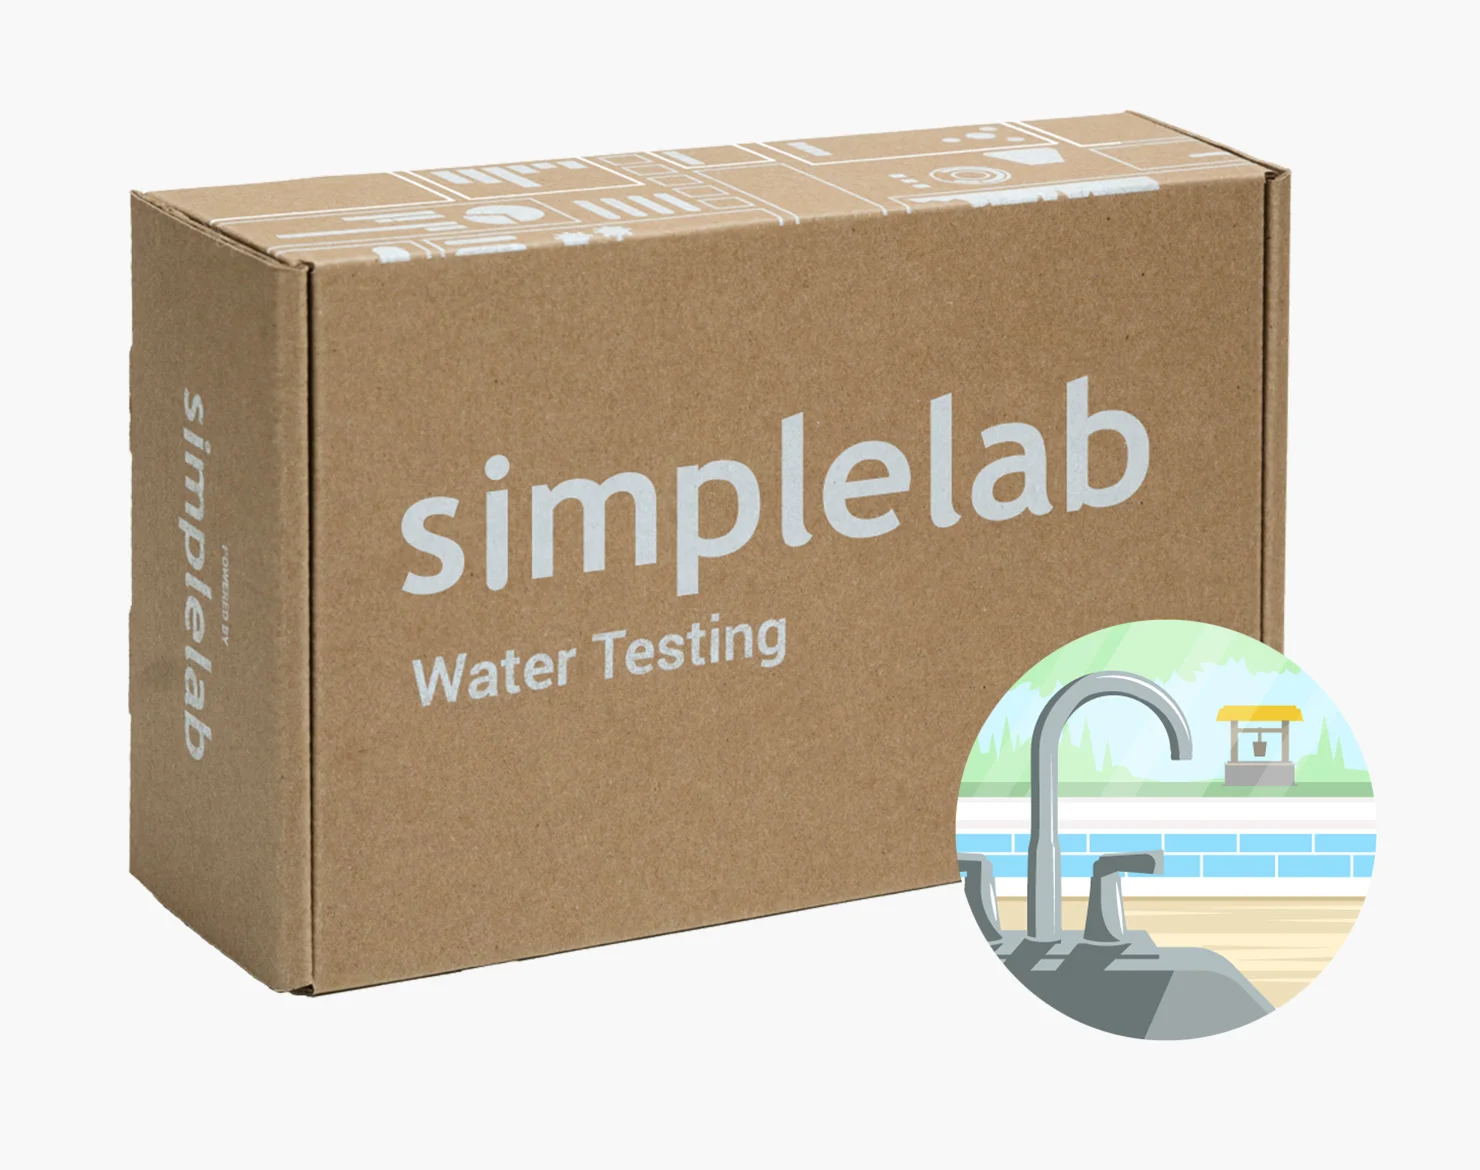
The CDC recommends testing private well water at least once a year — and more often if your water quality has changed or if conditions near your well have shifted.
👉 Order a water test
Do You Know Your Flow Rate and Water Pressure?
Your system must be sized to match your household water demand. A system that is too small will cause pressure drops throughout the house. A system that is too large wastes money.
To measure your flow rate, time how long it takes to fill a five-gallon bucket at your outdoor hose bib. Divide five by the number of seconds and multiply by 60. That gives you gallons per minute.
Check your water pressure with a simple gauge attached to an outdoor spigot. Most whole house systems require between 20 and 90 PSI. Well water customers should also note their pressure tank cut-in and cut-off settings before starting.
Is Your Installation Location Ready?
The best location for a whole house water filter is after the main shutoff valve and before the water heater. This protects every tap, appliance, and water heater in the house.
Check that your chosen location has:
-
- Enough clearance to work around the system — at least 12 inches on all sides
- A nearby drain for backwashing systems (floor drain, utility sink, or standpipe)
- Protection from freezing temperatures and direct sunlight
- A 110V electrical outlet nearby if your system requires one
- A level surface — tanks must sit plumb and straight
For well water customers: Your iron filter or softener must be installed after the pressure tank, not before it. Installing before the pressure tank prevents proper backwashing and can damage the control valve. Read more about iron filter placement here.
For city water customers: Locate the point where your main water line enters the house — usually in a basement, garage, or utility room. Your filter installs here so all water coming into the home is treated.
Do You Have All Your Tools and Parts?
Gather everything before you shut off the water. Running to the hardware store mid-installation with no water in the house is a frustrating experience.
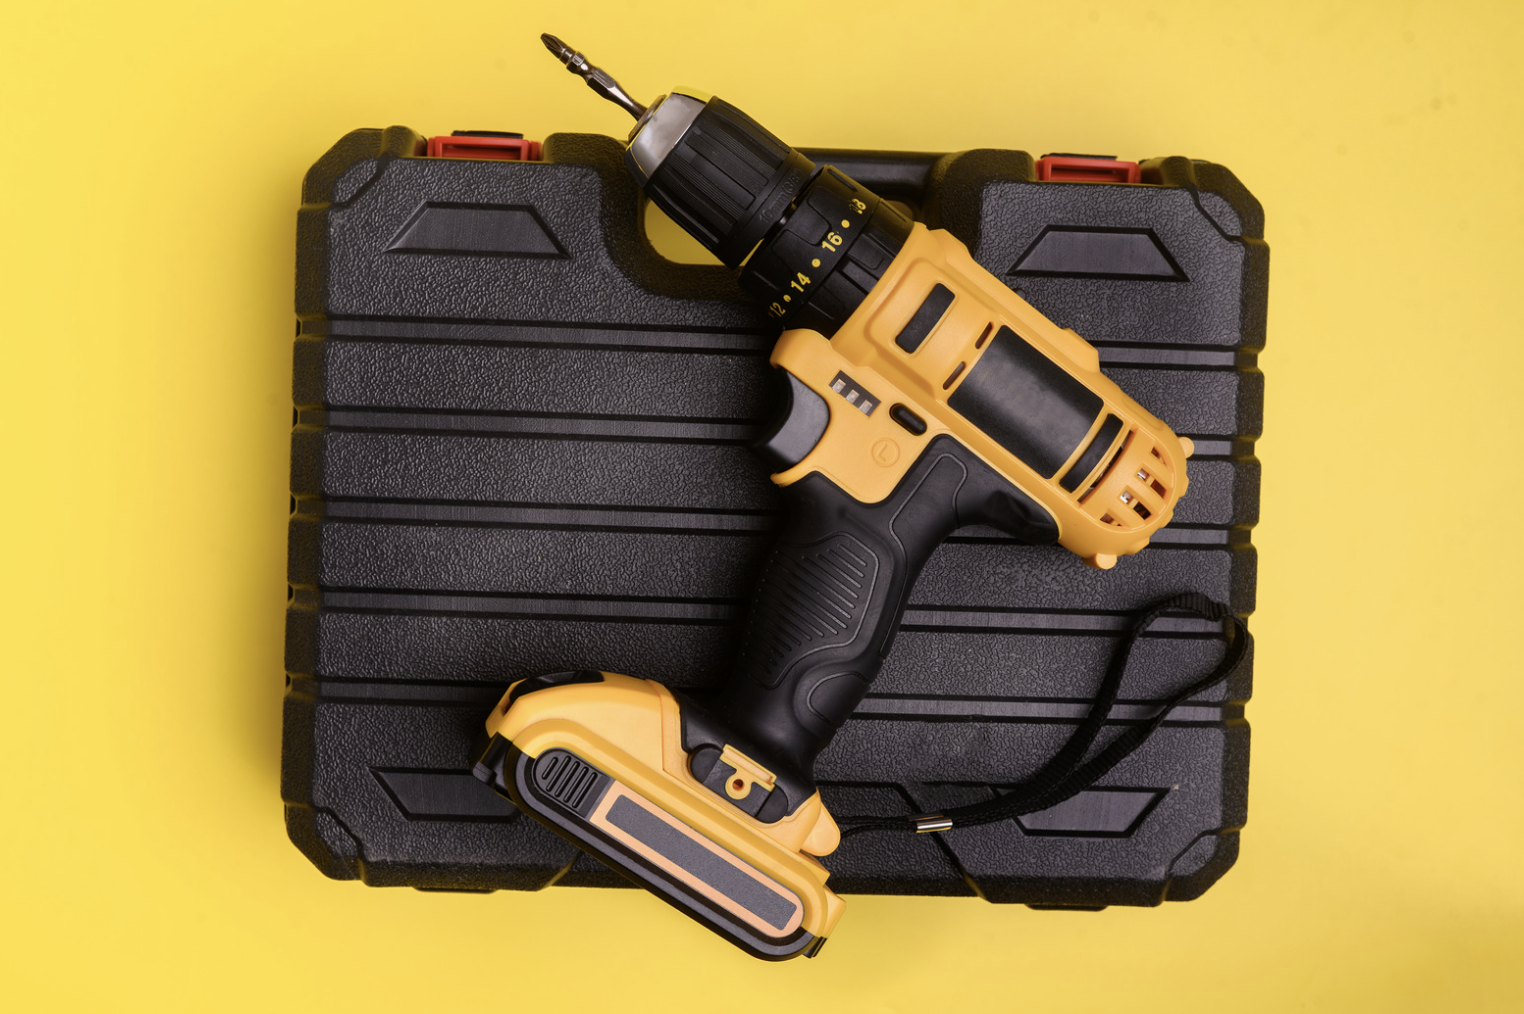
Tools you will likely need:
-
- Pipe wrench and adjustable pliers
- Teflon tape and pipe thread sealant
- Tubing cutter (for copper) or PEX crimping tool (for PEX)
- Drill and bits if you need to run a drain line
- Bucket and towels for water spillage
- Pressure gauge
- Food-grade silicone grease for O-rings
Parts to have on hand:
-
- Bypass valve (if not included with your system)
- Service shutoff valves before and after the filter
- Drain line tubing and fittings
- Appropriate pipe fittings for your pipe type (copper, PEX, CPVC, or galvanized)
- Extra O-rings (the right size for your housing)
Have You Checked Your Local Plumbing Code?
Some jurisdictions require a permit before cutting into a main water line. Others have specific requirements for drain line connections and air gaps. A quick call to your local building department takes five minutes and can save you significant headaches — especially if you plan to sell the home later.
Make sure your system carries the appropriate NSF/ANSI certification. Most plumbing codes require that water treatment equipment meets NSF/ANSI standards. For whole house filters, look for NSF/ANSI 42 or 53 certification. For UV systems, NSF/ANSI 55. For water softeners, NSF/ANSI 44.
👉 Read more: Do I Need a Plumber for Whole House Water Filter Installation?
Have You Read the Manufacturer’s Installation Manual?
Read it fully before you start. Every system is slightly different. The manual will tell you the correct flow direction, the required drain line size, the startup procedure, and the initial programming settings. Skipping this step is one of the most common — and most avoidable — installation mistakes.
👉 Read more: Common Mistakes When Installing a Whole House Water Filtration System
During Installation: What Do You Need to Do Step by Step?
Have You Shut Off the Water and Released Pressure?
Before cutting a single pipe, shut off your main water supply completely. Then open a faucet at the lowest point in the house — a basement hose bib or utility sink — to drain the line and release any built-up pressure.
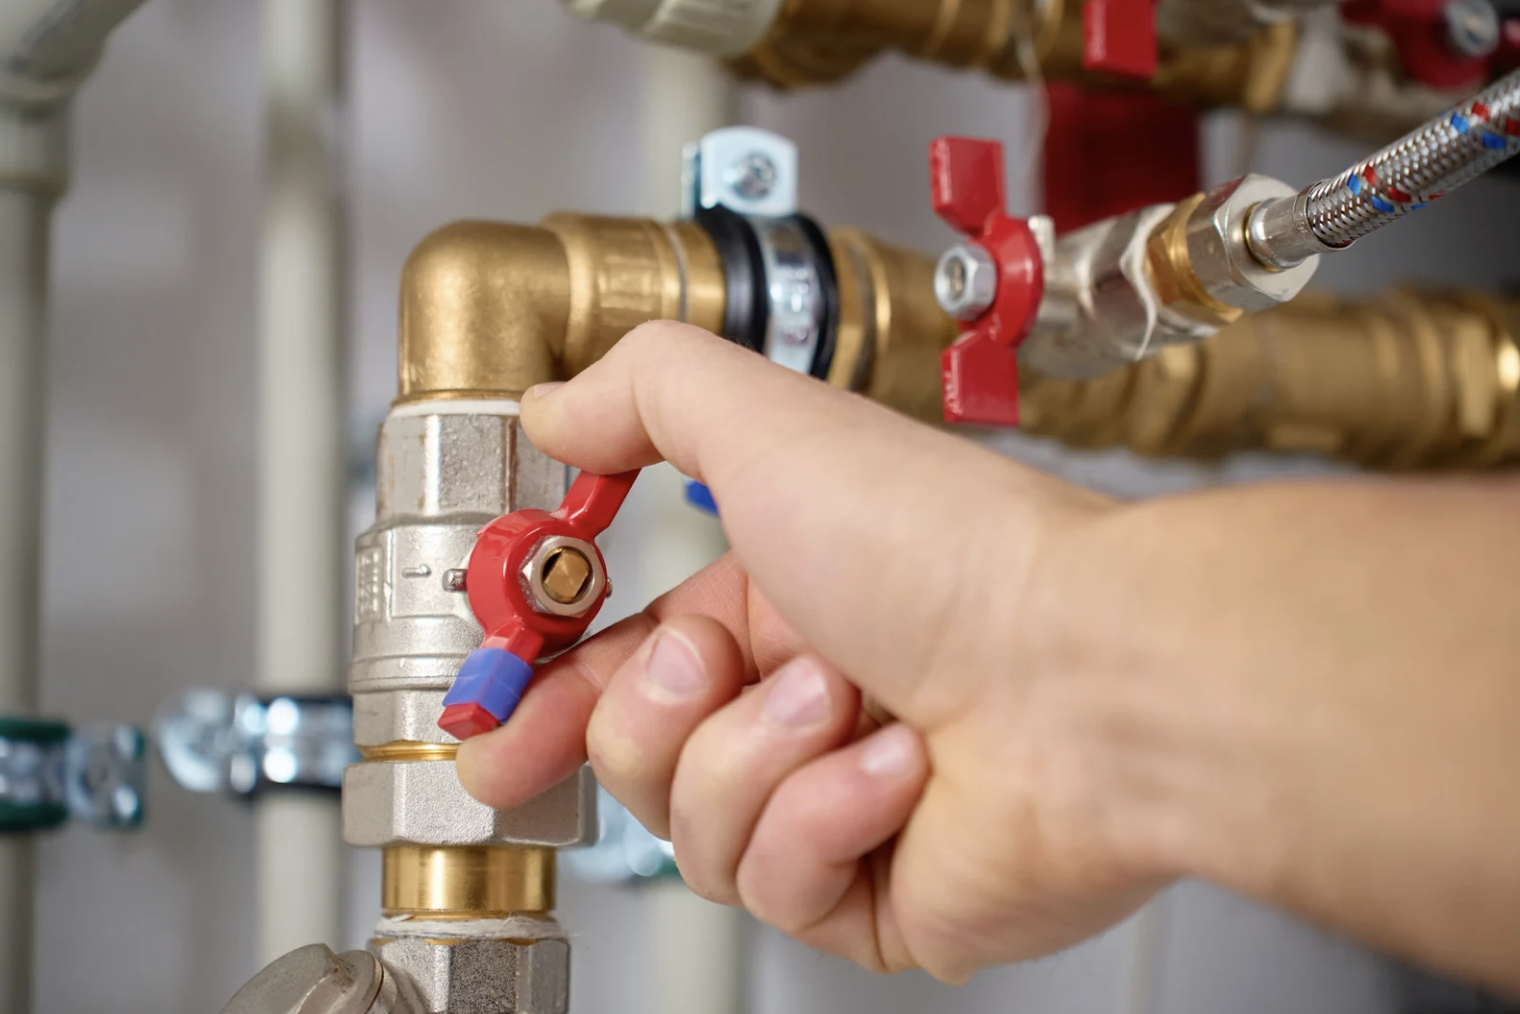
Skipping the pressure release step causes water to spray when you cut the pipe. It seems obvious but it catches people off guard every time.
Is Your Bypass Valve Installed Correctly?
A bypass valve lets you isolate the filter for maintenance without shutting off water to the entire house. Install it before anything else. Without one, every filter change and service call means cutting the water to the whole home.
Most bypass valves have three positions: service (water flows through the filter), bypass (water goes around the filter), and shutoff (water to the filter is closed entirely). Make sure you understand how your valve works before connecting anything else.
Is the Flow Direction Correct?
This is one of the most common and most damaging installation mistakes. Every filter tank and housing has a specific flow direction — water must enter and exit from the correct ports. Installing it backward prevents proper filtration and can damage internal components.
Check the arrows or inlet/outlet markings on your tank or housing. When in doubt, check the manual. Do not assume.
Is Your Drain Line Set Up Correctly with an Air Gap?
Backwashing systems — iron filters, softeners, carbon backwash filters — all require a drain line. The drain line carries waste water out during the backwash cycle.
Most plumbing codes require an air gap on the drain line. This means the end of the drain line must terminate above the drain opening — not submerged in it — so contaminated water cannot flow backward into your filtration system.
The drain line must also be the correct diameter. Too small and backwash pressure builds up and causes problems. Check your manual for the required drain line size.
For well water customers: Make sure your drain line is long enough to reach a proper drain and secured so it cannot move during the backwash cycle. A drain line that comes loose during a backwash cycle floods the utility room fast.
Are All Connections Sealed and Tightened Correctly?
Wrap all threaded connections with two to three even layers of Teflon tape in a clockwise direction before tightening. Do not use petroleum-based sealants on plastic fittings — they can crack the plastic over time. Use food-grade thread sealant or Teflon tape only.
Tighten fittings firmly but do not overtighten. Overtightening cracks housings and strips threads. If a connection still drips after snugging it down, give it one more quarter turn — no more.
Is the O-Ring Seated Correctly?
If your system uses a filter housing, the O-ring forms the watertight seal. Apply a thin layer of food-grade silicone grease to the O-ring before assembly. Make sure it sits evenly in its groove with no twisting or gaps. A dry, cracked, or misaligned O-ring will leak — even if everything else is perfect.
Never use petroleum-based lubricants like WD-40 or standard grease on O-rings. These degrade rubber over time and will cause the O-ring to fail.
Have You Loaded the Filter Media Correctly?
Tank-based systems — iron filters, softeners, carbon backwash filters, acid neutralizers — require media to be loaded before startup. Most systems require adding a gravel underbedding first, then the filter media on top.
Do not overfill the tank. Media needs room to expand during backwashing. Your manual will specify the correct fill level. Overfilling prevents proper backwashing and shortens media life significantly.
For carbon backwash systems: Allow the carbon to soak for at least two hours before startup — 12 to 24 hours is better. This purges carbon fines and gives you clearer water at first use.
For Well Water: Is the System in the Right Order?
If you are installing multiple treatment systems on well water, the order matters. Here is the standard sequence for most well water setups:
-
- Sediment pre-filter (protects everything downstream)
- Acid neutralizer if needed (corrects pH before iron filter)
- Iron filter (after the pressure tank)
- Water softener (after iron filter, protects resin from iron fouling)
- UV disinfection system (last in line, treats fully filtered water)
- Carbon filter if desired (removes any residual taste or odor)
👉 Read more about multiple system set-ups for well water treatment
After Installation: What Do You Need to Check Before You Are Done?
Have You Done a Slow Startup and Leak Check?
Do not turn the water back on at full pressure all at once. Open the main shutoff slowly — about a quarter turn at a time. Watch every connection carefully as pressure builds. Look for drips at fittings, the filter housing, the bypass valve, and the drain line connection.
Let the system pressurize fully and then walk through every connection again. Small drips that do not show up immediately at low pressure often appear once the system reaches full operating pressure.
Have You Purged the Air from the System?
Air pockets in the system cause noisy pipes, reduced flow, and pressure spikes. After startup, open several faucets around the house and let them run until the flow is steady with no sputtering. Use the pressure relief button on your filter housing if it has one.
It is normal for water to look cloudy or discolored for the first few minutes after startup. This is usually just air and fine particles from the new media. It clears up quickly.
Have You Run the Initial Flush?
Most systems require a flush before the water is safe to drink or use. Carbon filters need flushing to clear carbon fines. Iron filter media needs an initial backwash cycle. Water softeners need a full regeneration cycle.
Check your manual for the specific flush procedure and duration. Do not skip this step. Using the water before flushing can result in discolored water or particulate entering your pipes and fixtures.
Have You Checked Your Water Pressure After Startup?
A whole house filter should cause minimal pressure drop — typically less than 5 PSI when the system is clean and properly sized. If you notice a significant pressure drop immediately after installation, check for:
-
- Bypass valve partially closed
- Incorrect flow direction
- Sediment pre-filter already clogged from installation debris
- System undersized for your flow rate
Install a pressure gauge before and after the filter. The difference between the two readings tells you exactly how much pressure drop the filter is causing. This also helps you know when it is time for a filter change or backwash cycle in the future.
Have You Programmed the Control Valve?
Backwashing systems — iron filters, softeners, carbon backwash filters — have a control valve that needs to be programmed before the system starts operating automatically. You will need to set:
-
- The current time of day
- The backwash day and time (typically set to run at 2 AM when water is not being used)
- The backwash duration and rinse cycle length
- For softeners: the hardness level and salt dose
Set backwash cycles to run at night when no one is using water. Running a backwash cycle while someone is showering causes a sudden pressure drop and water temperature spike.
Have You Tested Your Water After Installation?
This is the step that confirms everything is working. Test the water coming out of your system and compare it to your before results. For well water customers, test for the same contaminants you tested for before installation. For city water customers, a simple chlorine test confirms your carbon filter is doing its job.

The EPA recommends using only state-certified laboratories for water testing to ensure accurate results. Your local health department may offer free or low-cost testing for private well owners.
👉 Order a post-installation water test
Have You Set Up a Maintenance Schedule?
The best water filtration system in the world stops working if you do not maintain it. Before you consider the installation done, set up reminders for:
-
- Filter cartridge replacement (every 3-6 months for cartridge-based systems)
- Salt top-up for water softeners (check monthly)
- Annual water test to verify system performance
- UV bulb replacement (typically every 12 months)
- Media replacement schedule (varies by system — check your manual)
The EPA’s Water Filter Education resources cover maintenance basics and why keeping up with filter changes directly affects the safety and effectiveness of your water.
What Should You Do If Something Does Not Seem Right After Installation?
Do not ignore warning signs. If you see persistent drips, unusual pressure drops, discolored water that does not clear up within a day, or water that still fails a post-installation test — stop using the system and investigate before proceeding.
At Clean Water Store, we have helped thousands of well water and city water customers get their systems installed and running correctly. We build many of our systems modular so they can be added to over time as your water or your needs change. If you need help troubleshooting an installation or want to talk through your setup with a specialist, we are here.
👉 Chat with a water specialist

👉 Read more:
DIY vs Contractor — How to Install a Whole House Water Filter Without a Costly Mistake
Common Mistakes When Installing a Whole House Water Filtration System
How Long Does It Take to Install a Whole House Water Filter?
Article last updated April 28th, 2026 by Author


